The hardware lego pieces need connection together, and to the Arduino. When prototyping, this is easily done on a Breadboard (the white thing) and with jumper wires from the starter kit.
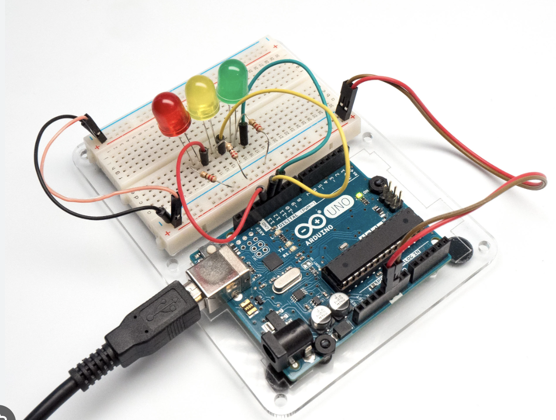
The grid of holes in the breadboard have specific continuity to each other in rows and columns. Experiment with a multimeter to figure out the pattern.
Usually, the pin spacing on IC’s and “IC boards” matches the hole spacing of breadboards, making temporary connections easy.
Once a breadboard is debugged, final version is usually soldered. This can be done manually, on a “Solder Board” aka “Perf Board”, which is a good next step in the inventor.
Beyond that, a custom PCB can be ordered cheaply from a huge number of companies offering this service on Google.
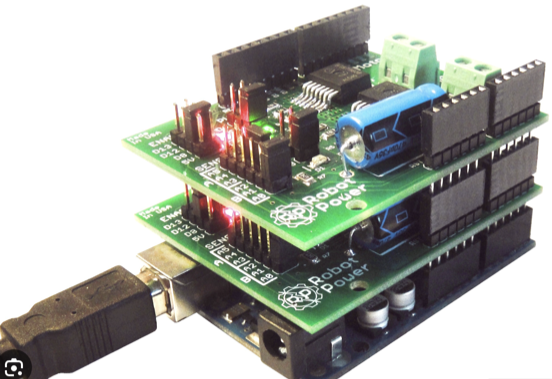
An Arduino “Shield” or “Hat” is a custom PCB that plugs directly into the Arduino. Shields are great way to package a custom circuit while making use of the mass production (low cost) and huge flexibility of the Arduino. The X Engineering Alternator Regulator is a Shield that began as a breadboard, then Solder Board, and was finally implemented as a custom PCB.
In the image below, someone has stacked multiple Shields on top of an Arduino Uno.